Author Archives: markmcleod50

Mutation / Adaptation / Hybrid

Learning Objectives

Demonstrate an understanding of the visual elements and principles of design.
Demonstrate an understanding of mold making and casting.
Demonstrate an understanding of finishing techniques for cast objects.

Important Terminology

Cast – A reproduction of an original piece of sculpture in any number of casting materials, most commonly plaster, plastic, or bronze.
Catalyst – A substance which changes the rate of a chemical reaction without itself undergoing permanent change in its composition; a substance which markedly speeds up the cure of a compound when added in minor quantity as compared to the amounts of primary reactants.
Curing Time – The period of time for a material to fully cure. Also called demold time.
Demolding – The process of removing a mold from a model or a casting from a mold; by mechanical means, by hand or by the use of compressed air.
Keys – A pin or key used to bring mold halves or sections into alignment on closing or joining together so they will not shift. Usually consists of a depression in one part and a matching protrusion in another part.
Mold – The cavity / form that carries a negative or reverse impression of an original model. Molds can be made of a rigid material, such as plaster or plastic resin or more commonly, a flexible material such as rubber. The material to use should be chosen considering the material of the model, the material to be used to make castings, and whether there are any undercuts.
Parting Line – A mark on a molded piece where the sections of a multi-piece mold have met in closing.
Pot Life – The amount of time that a catalyzed material remains workable (pourable for a liquid or trowelable for paste) after components have been mixed together.
Reinforcement – A strong inert material such as glass fibers, cotton, or burlap that is added into a casting material to increase the strength of the finished product. Some casting materials act mainly as binders for reinforcement. It is the reinforcement that gives strength, hardness, and break resistance.
Release Agent – A spray, liquid or powder used to prevent sticking of molded articles in the cavity.
Undercut – Any indentation or protrusion in a shape that will prevent its withdrawal from a one-piece mold.

Materials

100% silicone (found in tubes at Walmart, Home Depot)
Caulk gun (can be shared)
Large Popsicle sticks
Latex or vinyl gloves (can be shared)
Objects to mold
Paint (If using spray paint, buy Matte)
Oderless paint thinner
Corn Starch
Plastic cups or cheap mixing bowl
Box or bag of plaster (Home Depot)
Vaseline or cooking oil spray

Mini-Assignments

1. Gather all materials required for assignment.
2. Work out at least 15 different combinations of your objects. Make sure to watch the Allan McCollum video below for ideas on how to combine objects. You may draw these out, photograph them, collage them, etc.
3. Practice mold making so that you understand the steps involved.

Readings

Mold Making (PDF)
For additional info, Google “DIY Oogoo” or “Pourable silicone mold oogoo”.

Major Assignment

Choose an object (or small group of objects) that you’d like to “mutate”. Visit the dollar store or Goodwill for some interesting finds. Look for objects with interesting textures and shapes, things that you could combine to create a new object. Don’t worry about the color of the original object.

Once you have your objects, think about how you will combine them and mutate them. Suggested mutation techniques: wrapping, carving, bending, deconstructing, combining, stacking, dissecting, smashing, disfiguring, sanding or wearing away, melting, etc. Anything you do to the object before you make the mold will show up in the mold. Explore ideas in your sketchbook include a variety of shapes, sizes and colors.

You will need to produce at least 5 objects that are either each completely different individual sculptures or that work together to create a large sculpture. You will need to make sure that seams are seamless and that the objects are well painted.

Decide how you will display this object (or group of objects). Consider its scale. Should it be on the floor, hanging on a wall (or sitting on a shelf on the wall), or resting on another object such as a table?

Research

Motion / Sound

Learning Objectives

Students will be able to demonstrate fine craftsmanship, an intense and investigative approach to materials and rigorous conceptual thought. Students will be able to create a work of art that not only engages the visual, but also the auditory. Students will be able to give examples of the works and processes of the artists listed below.

Materials

Materials to be chosen based on your project.

Time

On Calendar

Homework

Studio Work
Research artists listed below
At least 10 Sketches in sketchbook

Process

Students will create a three-dimensional work of art that creates visual interest while also creating something for the ears. The goal of this project is to push the student in terms of conceptual development. Your final piece should not only look nice but it must make the viewer aware of the noises and sounds around them. One of the most famous pieces similar to this project is John Cage’s “4 minutes 33 seconds”. Cage filled an entire orchestra hall with people and a full orchestra. For the above mentioned time, the orchestra remained absolutely silent. The music was not what the instrumentalists were doing, it was the noise around the audience. From the rustle of gum wrappers to a persistent cough, Cage’s work made the audience pay attention to the things around them. That is your goal. Whether it be through loud, obnoxious sounds or the gentle whisper of a breeze, make the viewer pay attention.

Your project may use any materials you like, but good craftsmanship is a must. Your work may be activated through a hand crank that the viewer must turn, a piece that is only activated when the door opens, or a work that is made to create sound when the wind blows. You may even use motion sensors to start a cd player and create a digital sound if you wish. Simple examples of these would be a door chime, bells hung on a business door, wind chimes etc. Your project should be much more complicated than these simple examples. It can be either outdoors or indoors.

Resources

John Cage, Bernie Lubell, Sound Sculpture, Sonic Arboretum, Luke Jerram, Odd Music, Bill Fontana, Sound Installation, Sound Art Thesis Paper (Excellent Read), Sound Art (Wikipedia)

Inside/Outside

Learning Objectives

Students will be able to demonstrate various technical building skills as well as fine craftsmanship. Students will demonstrate an understanding of the sculptural process; going from idea, to sketchbook, to acquiring materials, to building, to refinement, to finished product. Students will be able to build a sculpture that is both visually interesting and conceptually engaging. Students will develop their ability to notice the difference between the hand made and the machine made.

Materials

A real live fruit or vegetable; please choose one that inspires your thinking for this project.
Thin straight-pins for gluing the balsa (available at book store or drug store).
Small bottle of white glue (Elmer’s, for example, NOT super glue or rubber cement).
Utility knife and extra blades.
Sketchbook and pencils.
At least 3 drawings that you are excited about and ready to discuss.

Time

3 Class Periods

Homework

Studio Work
5 Sketches in sketchbook

Process

Thomas Demand
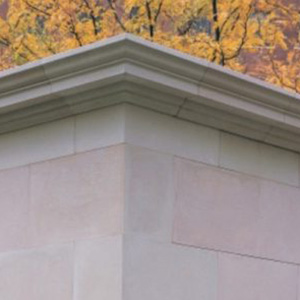
Create a piece of three-dimensional art around an architectural element of the Art Building.
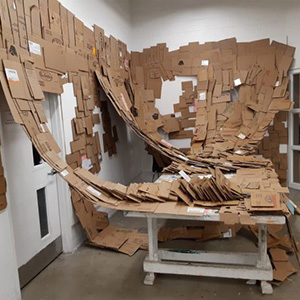
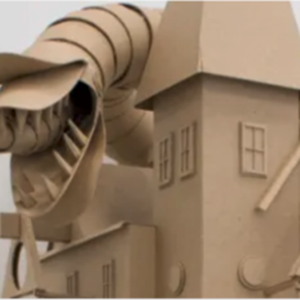
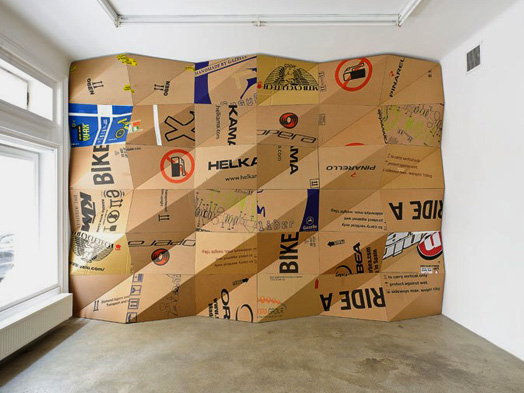
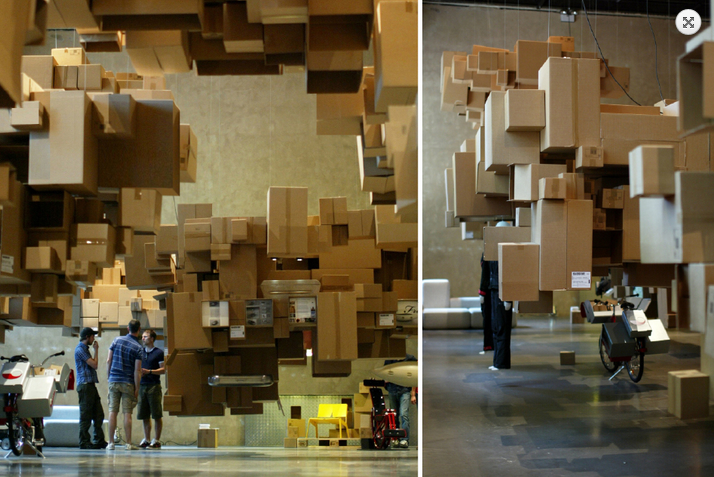
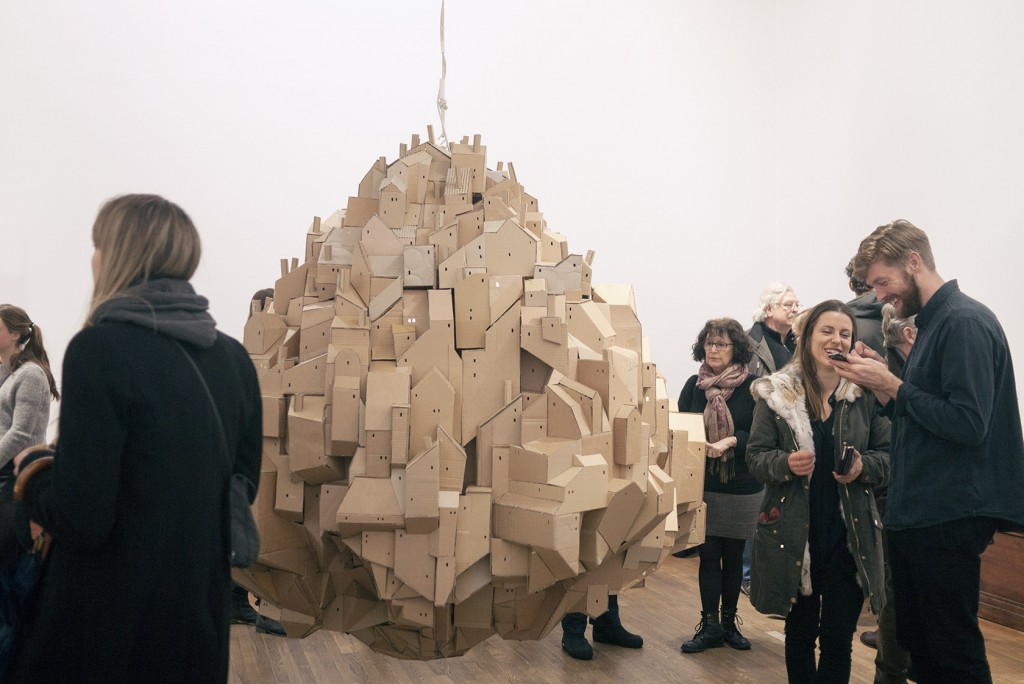
Use cardboard as a primary medium and any other material you deem appropriate for this assignment. Create your art in a way that it aesthetically enhances the architectural elements it reacts with. A successful design would transcend the architectural element to a different level of understanding. Your art can have one or more different effects on the architectural element. It can emphasize | obscure | repeat | modify | enhance | reduce | fortify | protect | reveal | clarify | alter | define | redefine | complete | reconstruct | deconstruct |
Required Formal Elements
Your work must be at least 4 ft in at least one direction (involving the element of scale), and must be in three-dimensional form (no flat cutout shapes in space please. Create solid forms)
In addition, your work should involve at least two of these design elements: Texture, Repetition, Variety, Space, Color
Think
What exactly is your aesthetic direction? Study the site and devise an overall plan of approach. Are you going to physically hide the element? Or can you divert attention from it?
Are you going to take a pure formal approach, or are you going to rely heavily on conceptual elements to execute the artwork?
How are you going to deal with the other elements (pipes, outlets, beams, etc) around the area?
How does the public interact with the architectural element you chose and how does your intervention affect that relationship?
How can you make the material more interesting? Can you use the cardboard’s physical characteristics (color, weight, text, pliability etc) as an aesthetic element? Or would it be best if you cover the material with paint or something else?
A few rules
Your work must be portable. Work directly on your architectural element, but at the end of each class you need to be able to detach all the pieces and to store them away until next time you will work on it.
Don’t block fire exits, fire sprinklers, fire alarms, exit signs, or any other safety feature of the building.

Supplies

(to be purchased by the student)
Cardboard (find and bring to the studio at least three large cardboard boxes by next class)
Utility Knife
Duct tape

Technique

You may join cardboard with a variety of methods, but duct tape seems to be the best. Choose a corner in the room or around the building (confine your selection in the facilities of the Art Department)

Geometric Space

Learning Objectives

Demonstrate an understanding of the visual elements and principles of design.
Develop and refine problem-solving skills to enhance creative thinking.

Objective(s)

Create a sculpture that emphasizes volume through sheer size. The resulting project will be an open form.
Create a sculpture that is abstract.
Utilize the elements and principles of design, focusing primarily on formalism.
elements – line, shape, form, value, color, texture, and space (positive/negative)
principles – pattern, rhythm/repetition, contrast, balance, unity, emphasis, movement
Create a sculpture 6 feet in at least one direction (either length, width, or depth).
Create and use a maquette.

Important Terminology

Volume: refers to the space within a form
Plane: that element of form which can be described in two dimensions, predominantly characterized by surface, or any flat or level surface (planar materials include: cardboard, sheet metal, paper, fabric, etc.)
Maquette: a small sculpture made as a preparatory study or model for a full-scale work

Space: refers to distances or areas around, between or within components of a piece. Space can be positive (the object itself) or negative (the area around the object), open or closedshallow or deep and two-dimensional or three-dimensional. Sometimes space isn’t actually within a piece, but the illusion of it is.
Formalism: The concept that a work’s artistic value is entirely determined by its form–the way it is made, its purely visual aspects and its medium. Formalism emphasizes compositional elements such as color, line, shape and texture rather than realism, context or content. To put it as simply as possible, formalism deals with formal properties of art primarily and deals with concept secondarily or not at all.

Materials

Sketchbook
Posterboard (for maquette) – (you must make/show your maquette and get approval prior to final project) – final project should be exactly like maquette – bring maquette to final critique
Masking tape (for maquette ONLY)
several sheets of plain brown cardboard (purchased from Art Supply store or found. Avoid beat up or heavily printed cardboard)
Corrugated cardboard – (optional – good for curves or texture)
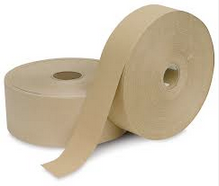
Paper tape (shipping) brown with adhesive on back – could use tape aesthetically – “reinforced gummed adhesive” found at Office Depot & Staples
Sponge and water container
Utility knife with lots of replacement blades (not an x-acto blade, a UTILITY KNIFE)
Scissors (only heavy duty ones will work, like kitchen scissors)
Ruler, Protractor, Compass, Calculator
Glue gun & glue sticks (as reinforcement to tape, not to be used alone)

Instructions/Considerations

This project is similar to the recent “Geometric Mass” assignment with a few exceptions.
The size is much larger, what most people would call life size because one side of it will be at least 6 feet.
The form should be open and appear light weight yet strong.
This piece will not be painted.

References

Go online or to the library. Research shows itself in your work.
Paper models of polyhedra
Geometric Nets
Richard Deacon
Lisson Gallery
Artsy
Artnet

Fruit

Learning Objectives

  1. Demonstrate an understanding of the visual elements and principles of design.
  2. Demonstrate an understanding of forming, molding, carving and paper maché manipulation.
  3. Demonstrate an understanding of color theory.

Important Terminology

Paper Maché – a substance made of pulped paper or paper pulp mixed with glue and other materials or of layers of paper glued and pressed together, molded when moist to form various articles, and becoming hard and strong when dry.
Armature – an internal frame or skeleton which supports a modelled sculpture.
Additive – Is the process by which material is shaped and built up, frequently on an armature, to create the desired image.
Modelling – An additive process in which material is steadily built up to produce the finished figure.
Subtractive – Involves removing material, as in wood carving or stone sculpture, to create a finished work.

Materials

  • Chicken wire and / or cardboard (split a roll with another student)
  • Hot glue gun and glue sticks
  • One bag of flour
  • Gallon of white glue (can be split with another student)
  • Acrylic latex paint
  • Paintbrushes
  • Newspaper (lots of it)
  • Cheap whisk
  • Drywall compound (not DAP)
  • Cheap rolls of toilet paper
  • Mineral oil (split with several students)
  • 5 gallon bucket
  • Putty knife

Sketchbook Mini-Assignments

1. Research the artists you were given in class. Do lots of research. Take notes. Watch videos. Look at images. Read their writings. Include this research in your sketchbook.
2. Watch and take notes on the videos linked below.
3. Workout ideas for your major assignment through sketches in your sketchbook.

Project

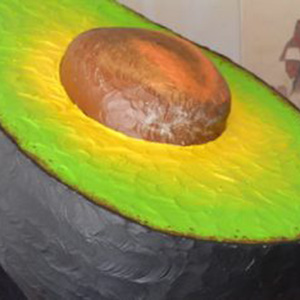
Using the two artists you chose during class, combine their styles to create a fruit or collection of fruit. You may have to look at several of their works of art to find two pieces that you could pull from. The minimum size is 2 feet.

After extensive sketching, create an armature to act as a support for your sculpture. Using chicken wire or cardboard strips, wrap your armature to create the shape of your fruit. Once you have a shape that works, cover your chicken wire armature with a mixture of wheat paste (flour and water) and torn strips of newspaper. Once this has dried, use additional coats of paper maché to smooth out or add texture to your sculpture. Once the paper maché is fully dry, paint your object. You also need to consider how it will be displayed.

Try to get your paper maché as smooth as possible. You can use drywall compound to lightly cover your sculpture and then once it is dry, sand it smooth. You do not want it to look like strips of paper once you have it painted.

Research
ultimatepapermache.com

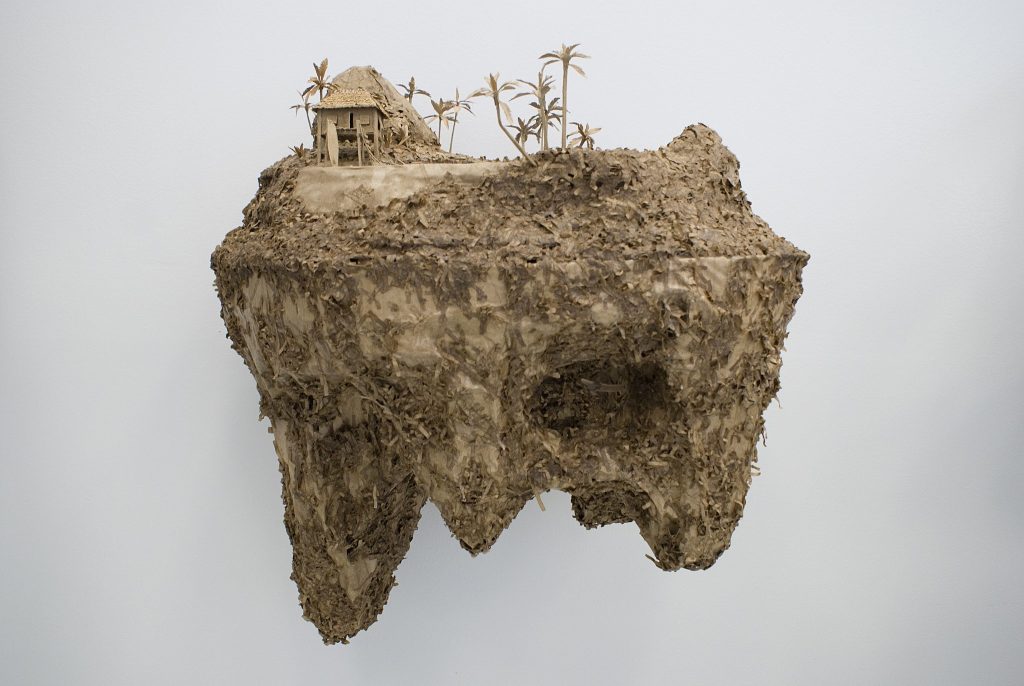
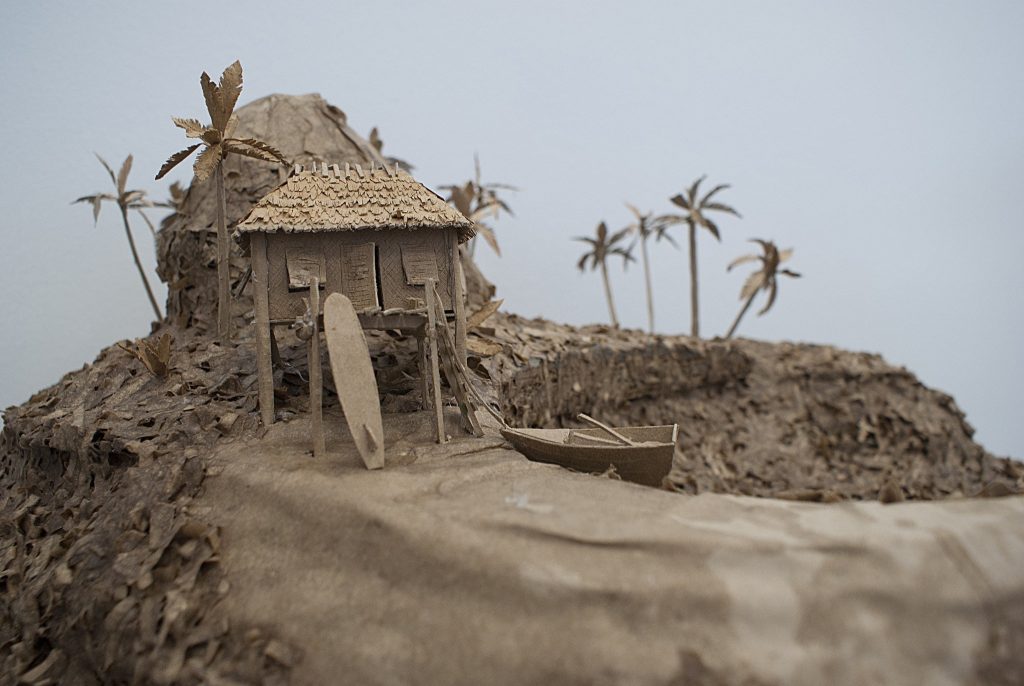
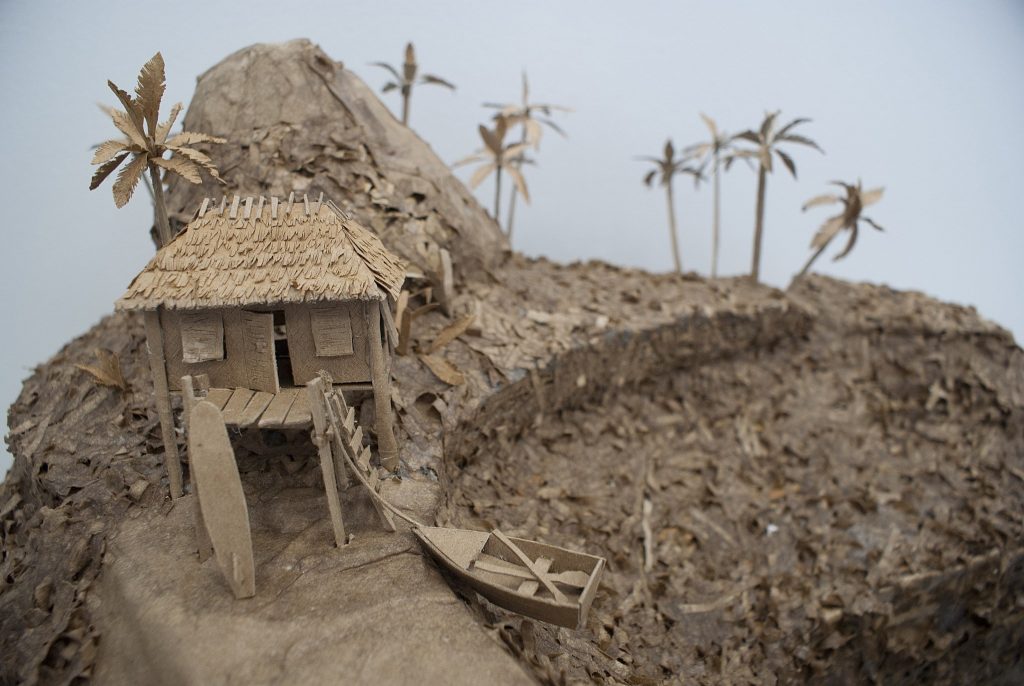
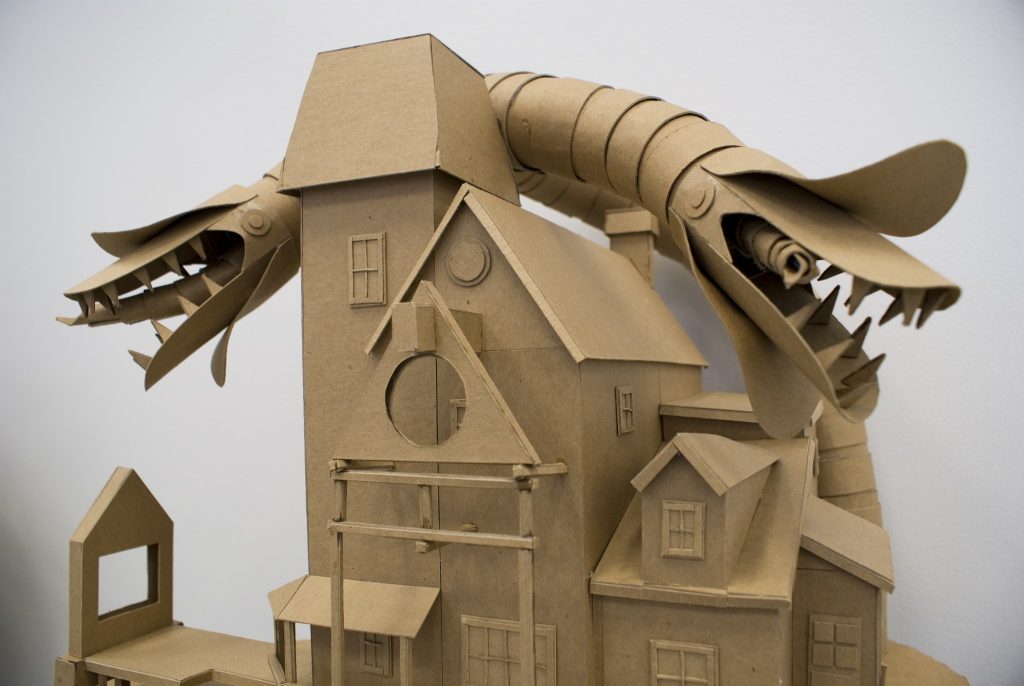
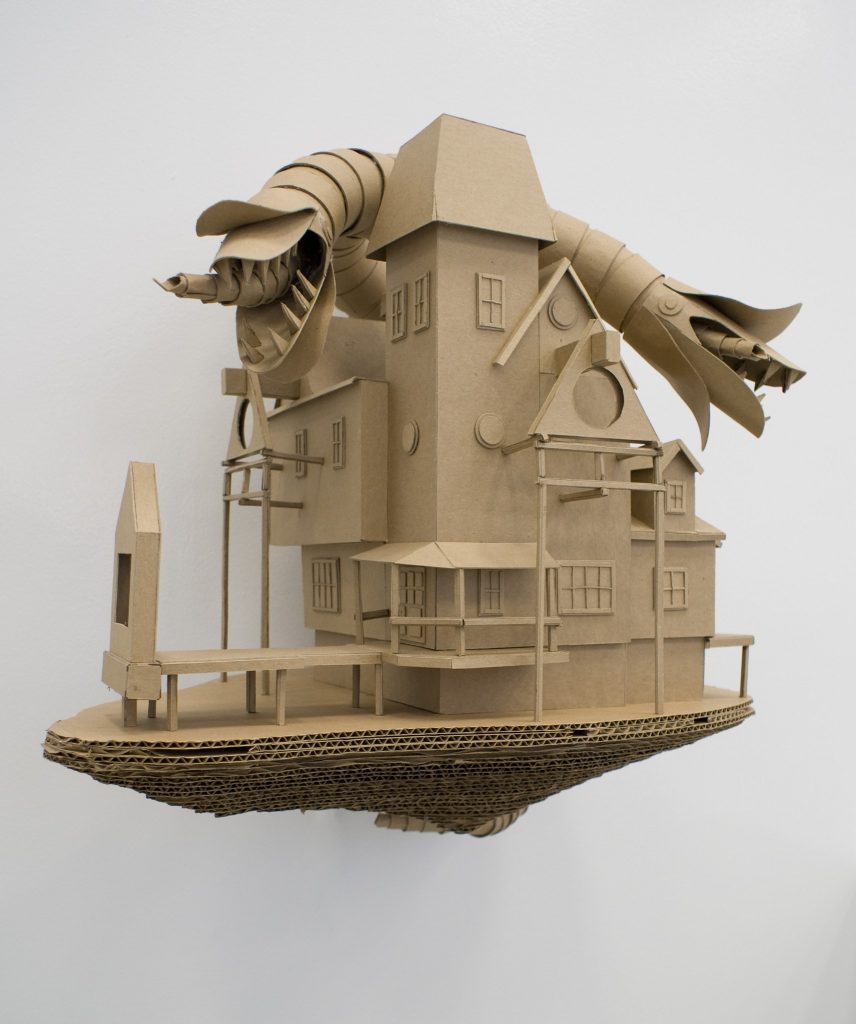
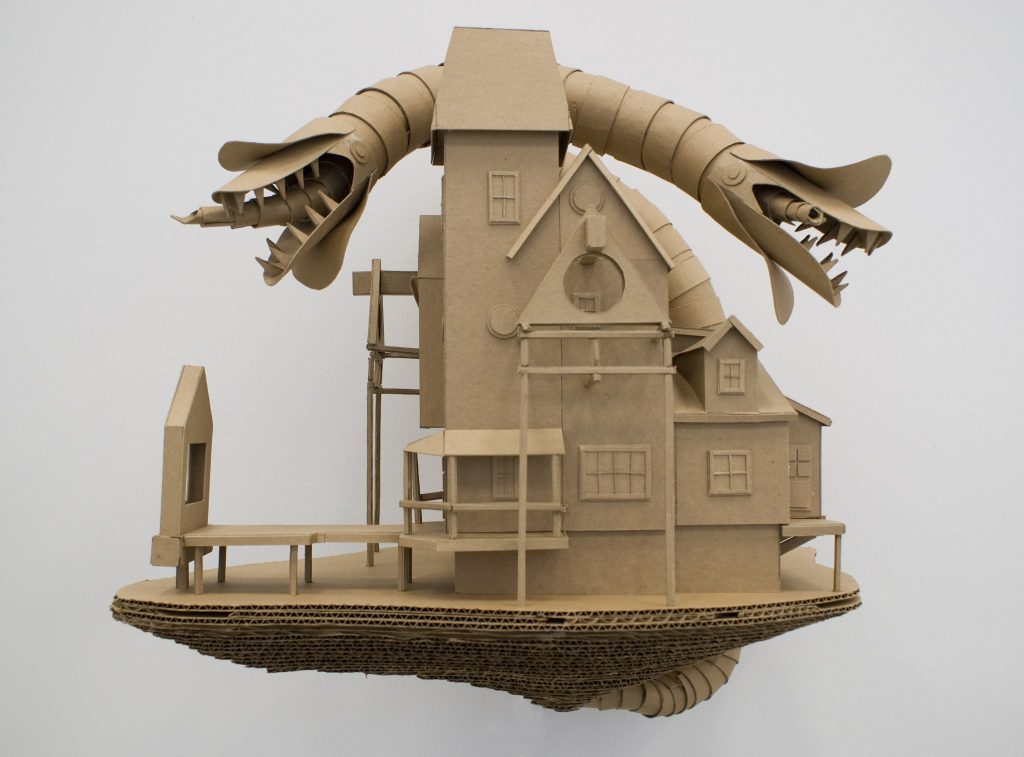
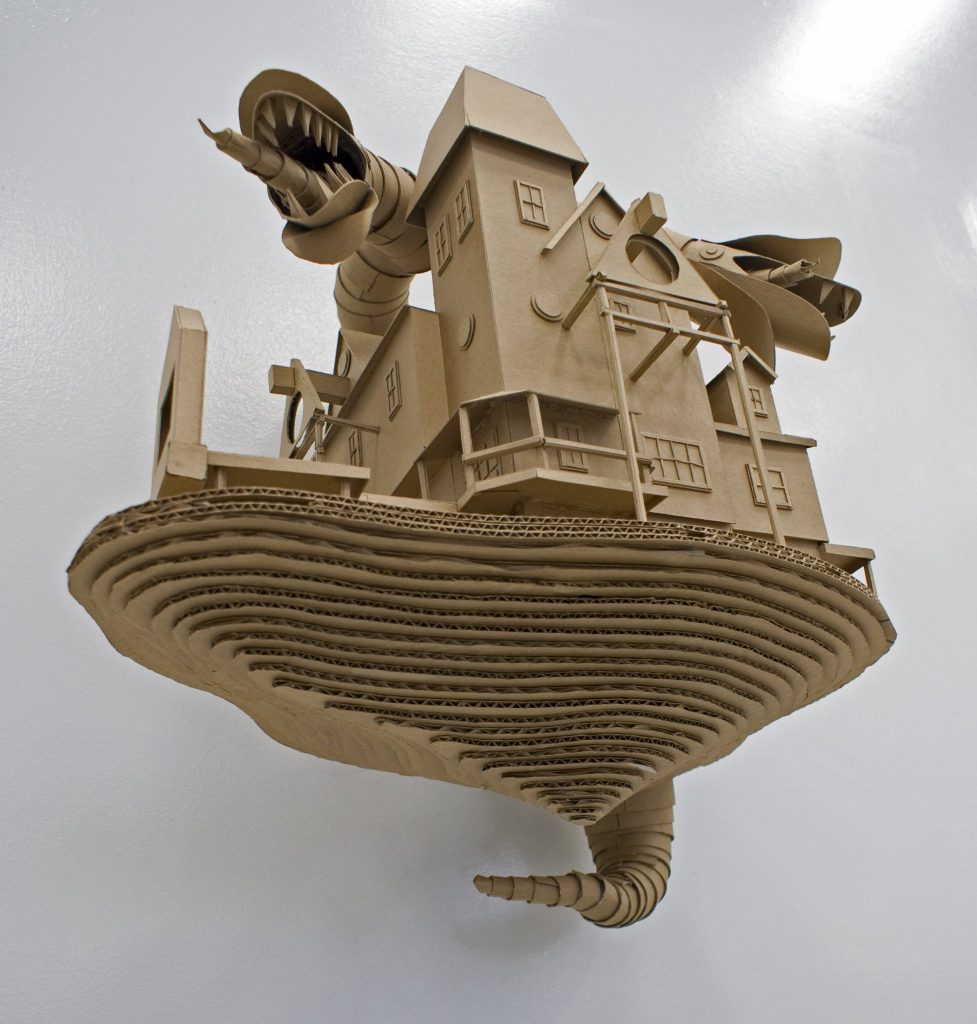
Fantasy Island

Learning Objectives

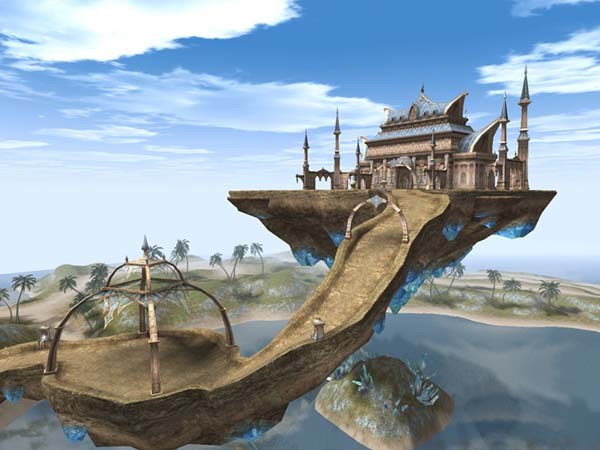
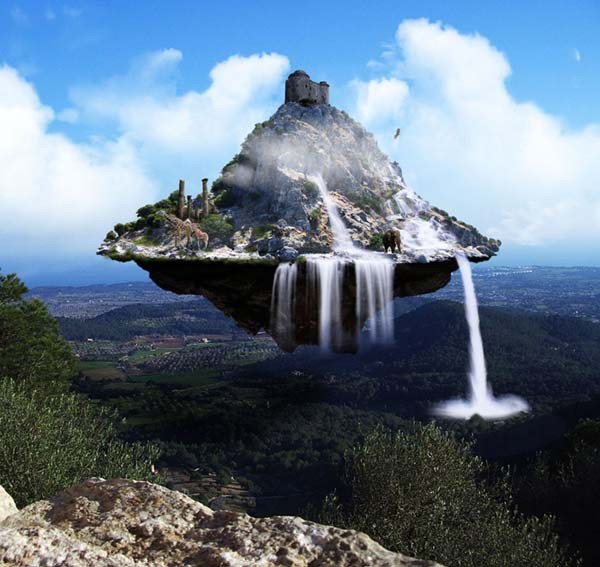
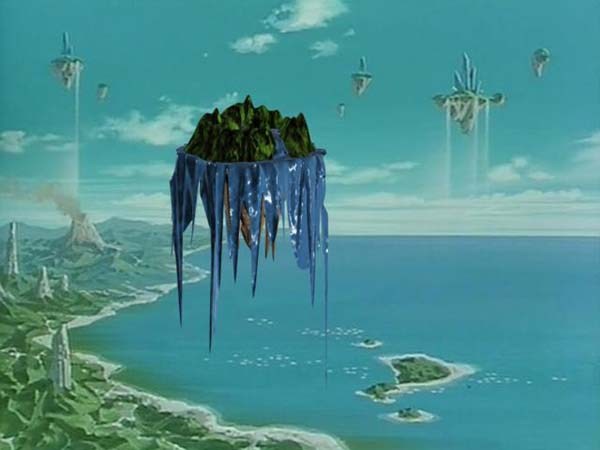
Students will demonstrate the basic processes of sculpture construction using easily obtainable materials such as cardboard and kraft paper. Students will demonstrate technical proficiency and excellent craftsmanship in the creation of their sculpture. Students will demonstrate creative problem solving in addressing various ideas throughout the completion of their project. Using a floating island as a springboard, students will develop a sculpture that suspends off the wall.

Materials

  • Cardboard
  • Brown Kraft Paper
  • White Elmer’s Glue
  • Cheap Chip Brushes
  • Xacto Knife
  • Utility Knife
  • Masking Tape
  • Hot glue gun and glue sticks (the regular sized ones)
  • Metal ruler

Mini-Assignments

  1. Create a Pinterest board and share with your instructor. Use this board to research ideas for your island. You’re not trying to copy what is already out there but you are trying to find inspiration. On your board you need to include each of the following –
    1. 5 images that depict the same mood (eerie, lonely, happy…)
    2. 5 images of historical architecture
    3. 5 images of appropriate textures for your island
    4. 5 images of cardboard works of art
    5. 5 images of island features (waterfalls, beaches, lagoons…)
    6. 5 images of other references that you find interesting (movies, artworks, construction methods…)
  2. Research different methods used in cardboard construction and look over images and videos on this page. Take notes in your sketchbook.
  3. Sketch out at least 5 different islands from multiple angles in your sketchbook. This will be a floating island. You could create a literal interpretation, a futuristic island, apocalyptic, etc.
  4. Complete the reading assignment below as well as answering the questions in your sketchbook.
  5. Accumulate cardboard to bring in to class.

Readings

The readings for this assignment focuses more on design aesthetics than building something with cardboard. Read “Ten Principles for Good Design: Dieter Rams” and watch the video below. Respond to the following questions in your sketchbook. Do you agree with his design principles? Why or why not? Can you think of a few bad designs? What about really elegant ones? How might this affect this next project?
Project

Using your Pinterest board, sketch out your finalized sculpture to scale with the aid of the professor. Make sure to think of any problems you might face while you are building your sculpture. Think about design issues and structural integrity as you sketch out your sculpture. Your sculpture will float off the wall and will need to be designed so that a shelf bracket may slide inside it. This means you to need to make sure it is balance so that it does not rotate or spin when attached the wall.

After getting your sketch approved by the professor, start constructing your island. You should start with the large shapes first and “rough” out the main components. Don’t forget to leave a slot of the mounting bracket. Using sheets of cardboard carefully construct your island. You should use excellent craftsmanship as you work. Edges of the cardboard should not be frayed and glue should not show. The cardboard will not be painted, so what you see if what you get. This is why craftsmanship will be so important – you won’t be able to hide anything.

Continue building your forms for your island. Starts to slowly add details where needed. Examine your sculpture from all sides as you are working to make sure that one side is not neglected. All sides you should be well built and creatively executed.

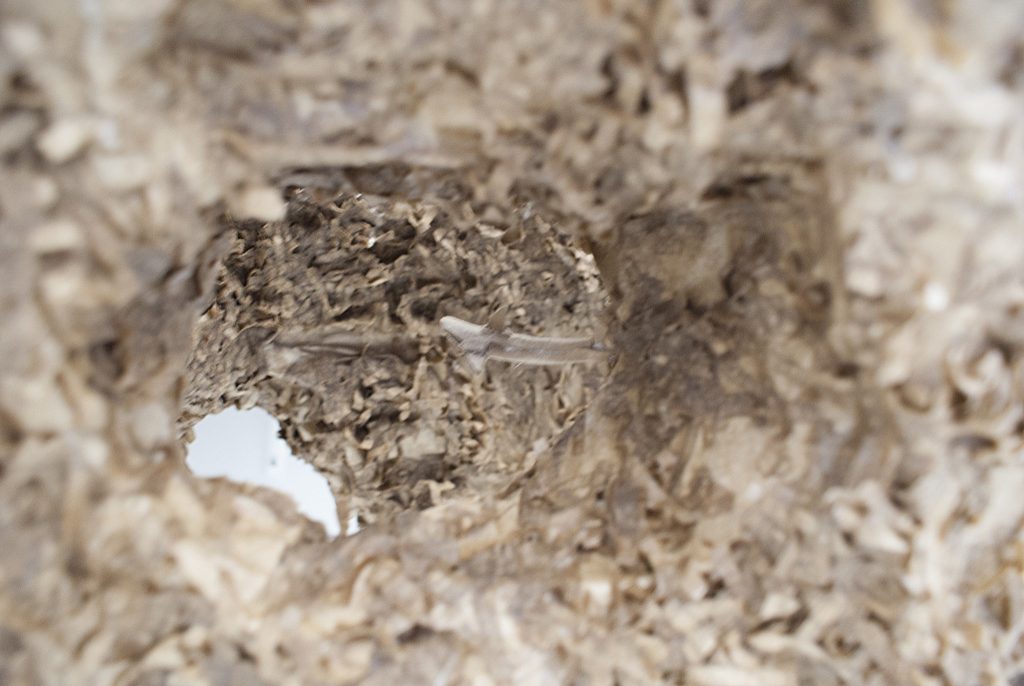
Create areas of interest. If the viewer comes close to your sculpture, will there be something for them to look at? Create surprises for the viewer.

The videos linked below stress craftsmanship. Take a few minutes to watch them and take note of what makes good craft.

Research
Chris Natrop
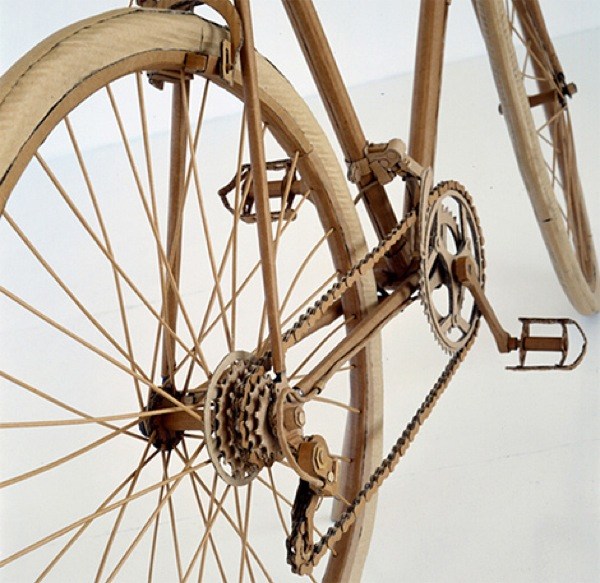
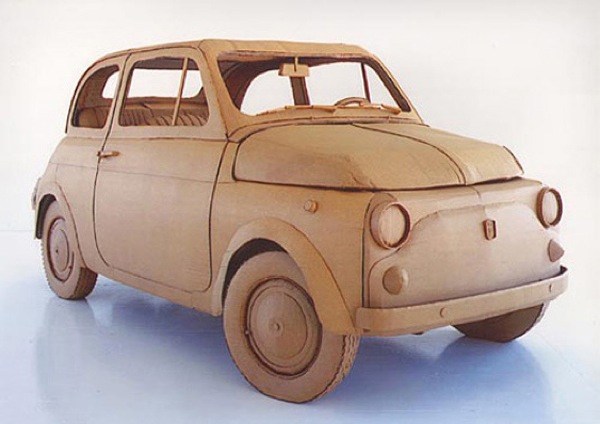
Chris Gilmour
The Art of Cardboard
Thomas Demand
Cardboarders.com

Deconstruction

Learning Objectives

  1. Demonstrate an understanding of the visual elements and principles of design.
  2. Demonstrate an understanding of wood working tools.
  3. Demonstrate an understanding of wood joinery.

Important Terminology

Carve – to make by cutting off pieces of the material it is made of
Joinery – part of woodworking that involves joiningtogether pieces of timber or lumber, to produce more complex items. Some wood joints employ fasteners, bindings, or adhesives, while others use only wood elements.
Adhesive – A substance that is capable of bonding material together by surface attachment. Glue and Contact Cement are examples.
Screw – a short, slender, sharp-pointed metal pin with a raised helical thread running around it and a slotted head, used to join things together by being rotated so that it pierces wood or other material and is held tightly in place.
Nail – a small metal spike with a broadened flat head, driven typically into wood with a hammer to join things together
Phillips Head – A type of screw head requiring a driver in the shape of +.
Flat Head – A type of screw head requiring a driver in the shape of -.
Grit – The grade of particles in sandpaper or sharpening stones which determines the aggressiveness of the cut.
Drill bit – cutting tools used to remove material to create holes.
Driver bit – a drill bit used to drive screws into wood.
Spade bit – a thin drill bit with a center point and cutting edges on either side
Band Saw – A saw with a looped blade running around two or three wheels. Used with narrow blades for cutting freehand shapes, and with wider blades and a guide for resawing material.
Square – A flat, metal, L-shaped tool that constitutes an accurate right angle
Bow – A warp along the length of a board.
Chuck – An attachment to hold work or a tool in a machine, lathe chucks and drill chucks are examples.
Pilot Hole – A hole slightly smaller than the thread diameter of a screw drilled in a workpiece to prevent it from splitting.

Materials

  • One 2×4 board (not treated)
  • Assortment of sand paper
  • Other materials to be determined based on idea

Sketchbook Mini-Assignments

1. Gather all materials required for assignment.
2. In your sketchbook, brain storm ideas for your project. You need a minimum of 5 drawings.
3. Research deconstruction woodworking and Deconstructivism.
Project

The goal of this project is to completely transform the 2×4 your purchased while also learning how to use certain wood working tools and joinery methods. You may only use the 2×4 along with nails, glue, or screws. Using your sketchbook, brainstorm as many ideas as possible. What’s the largest sculpture you could build? What’s the smallest? Can you completely destroy the 2×4 and then rebuild it? Should you carve it, sand it, polish it? When you are finished, we shouldn’t know the finished product came from a 2×4.

Research
Robbie Rowlands
Hello Wood Art Camp

Cardboard Wearable

Learning Objectives

  1. Students will be able to demonstrate an understanding of the elements and principles of design, specifically an understanding of form.
  2. Students will be able to define and demonstrate an understanding of the terminology listed below. 
  3. Students will be able to demonstrate quality craftsmanship.
  4. Students will be able to demonstrate the process of ideation, sketching and working out ideas and creating the final work.

Info

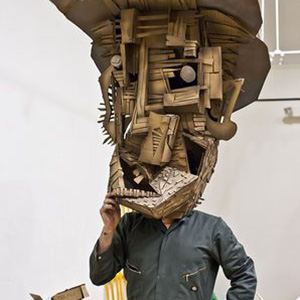
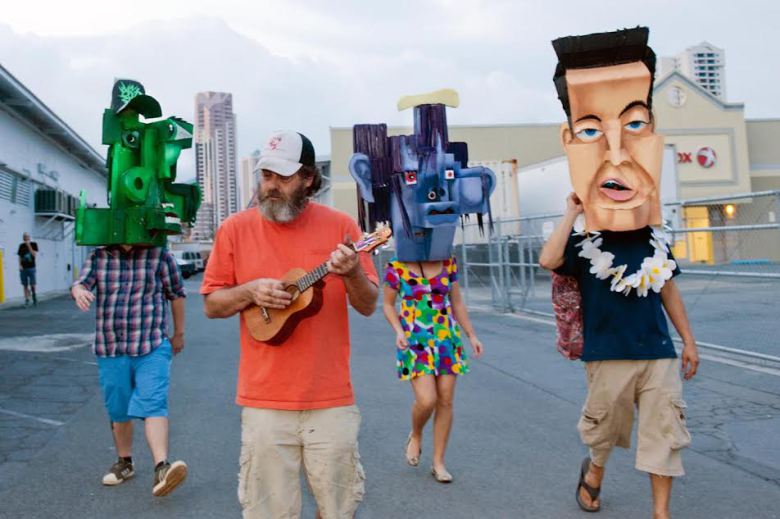
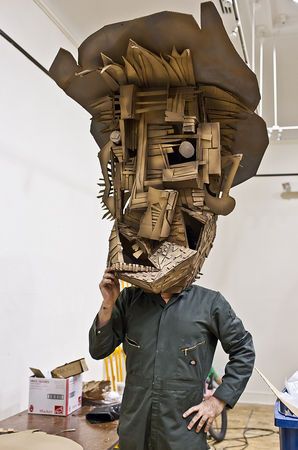
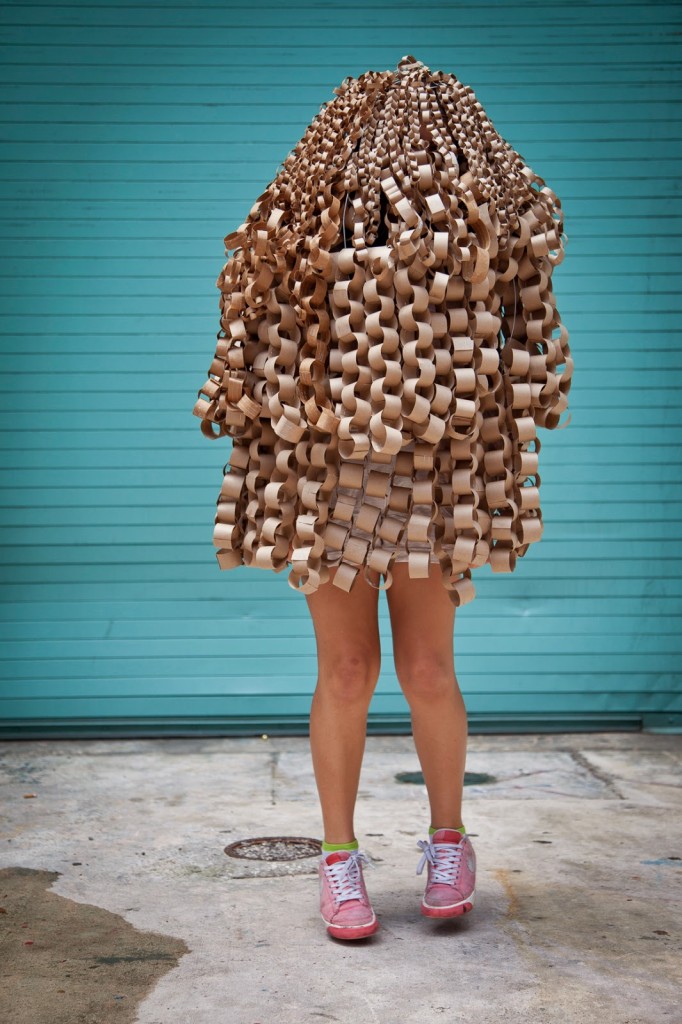
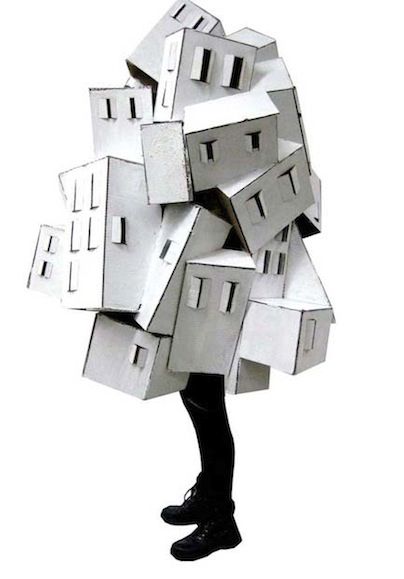
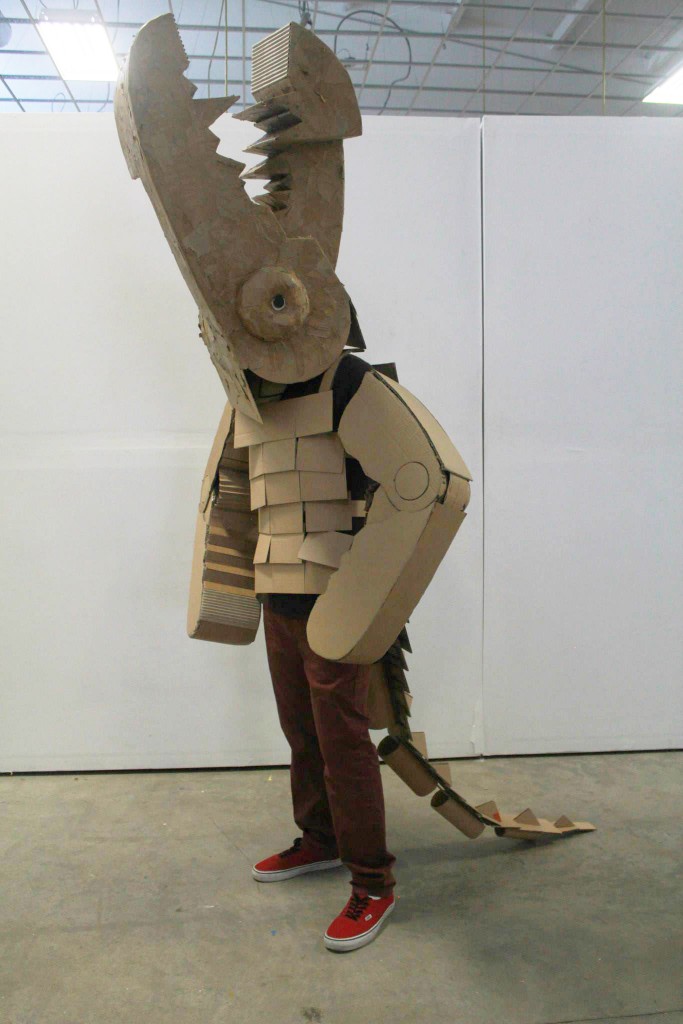
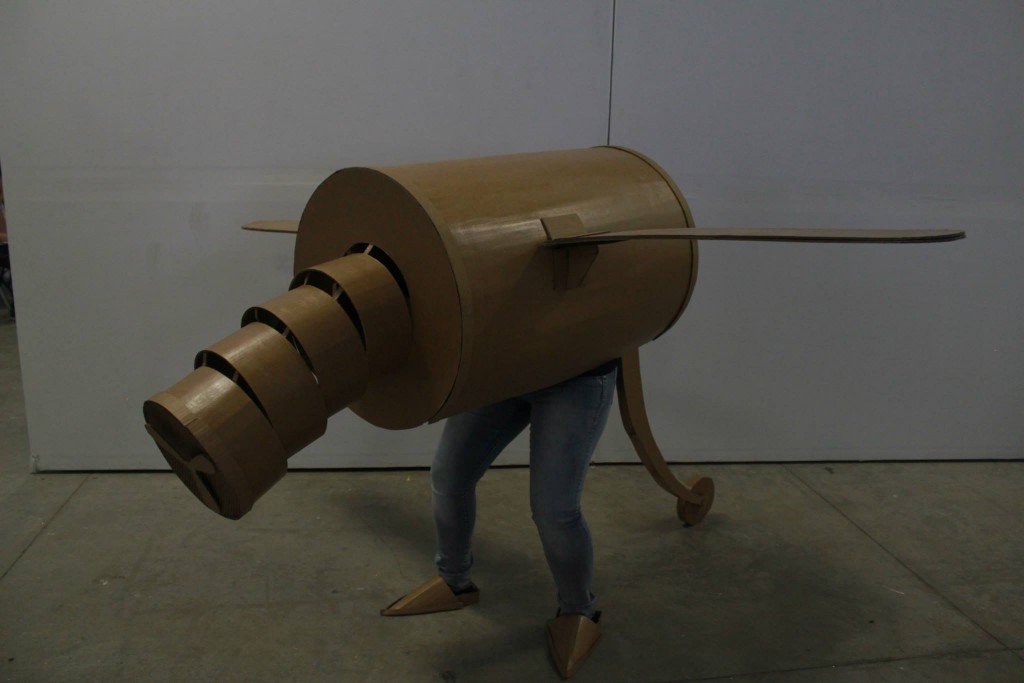
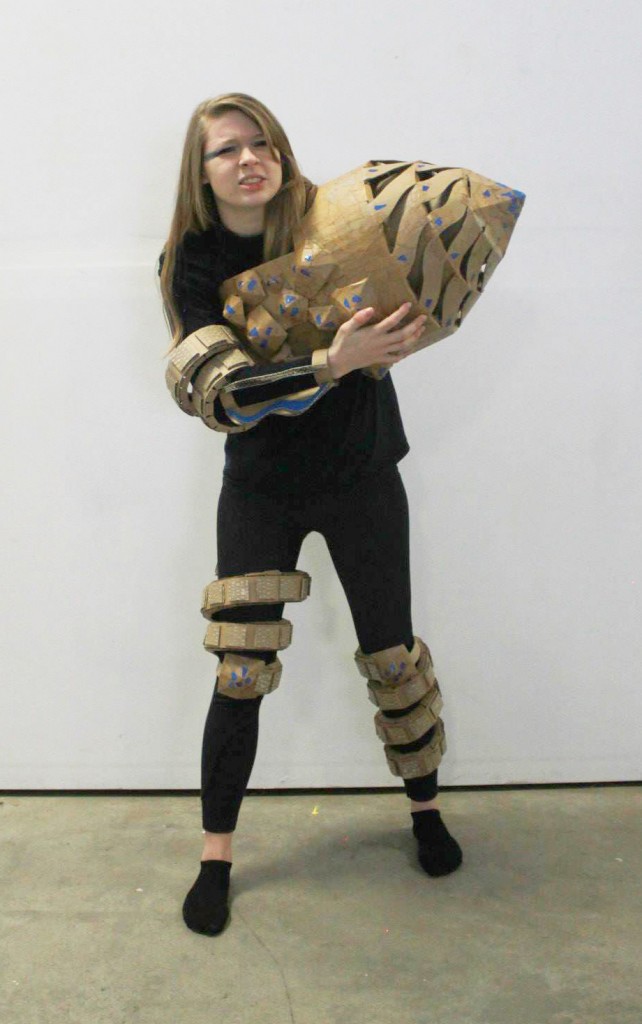
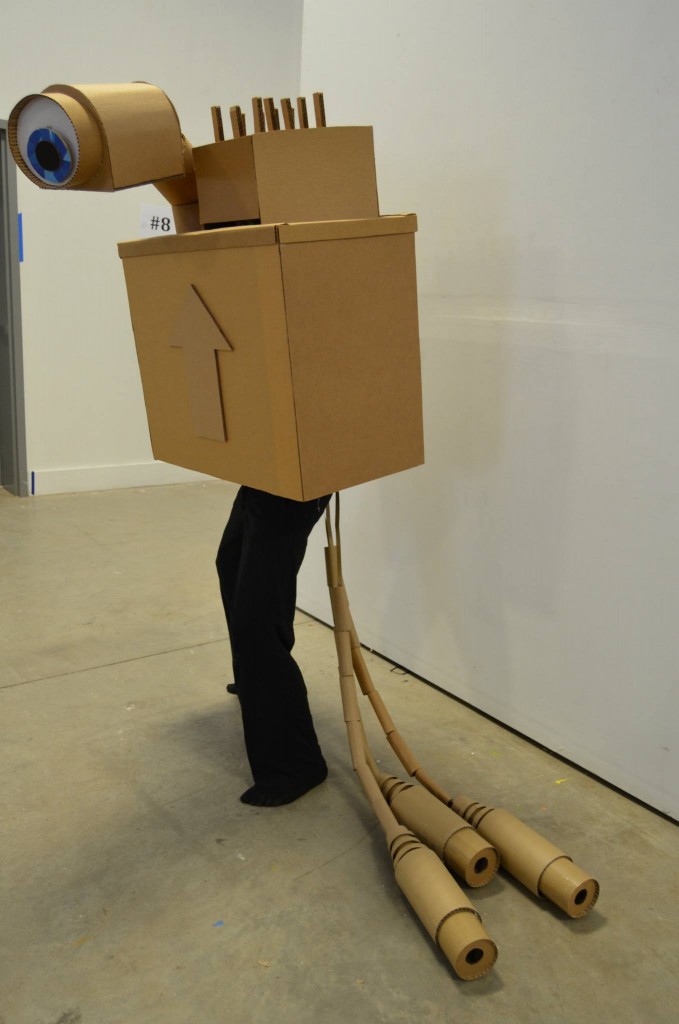
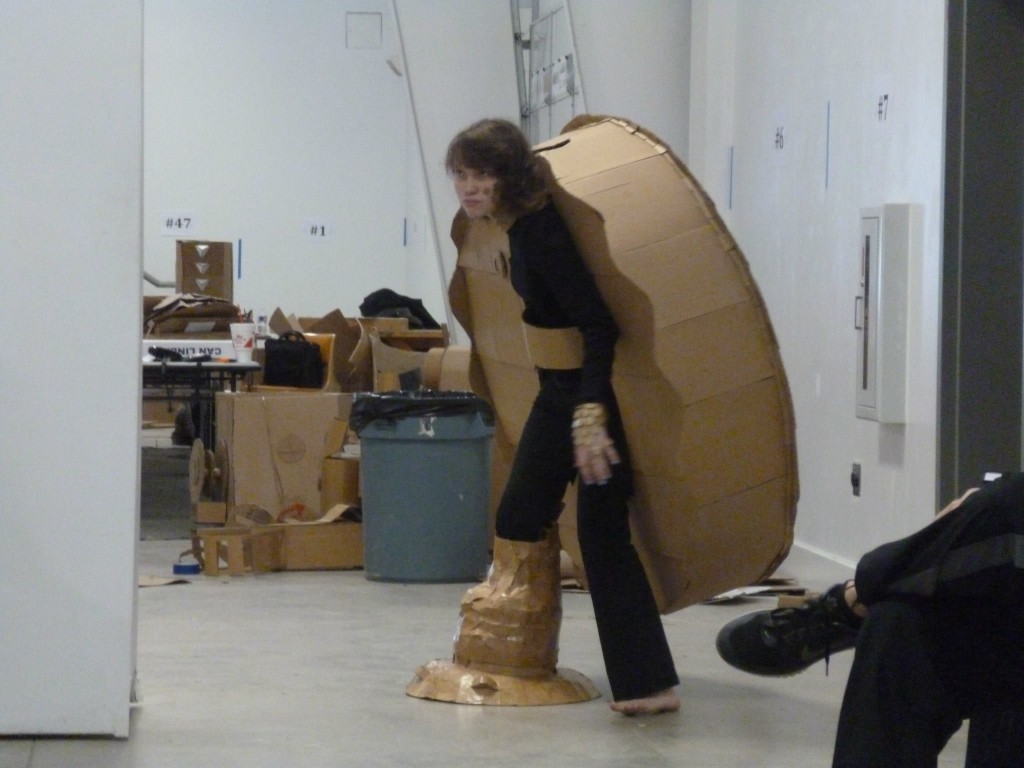
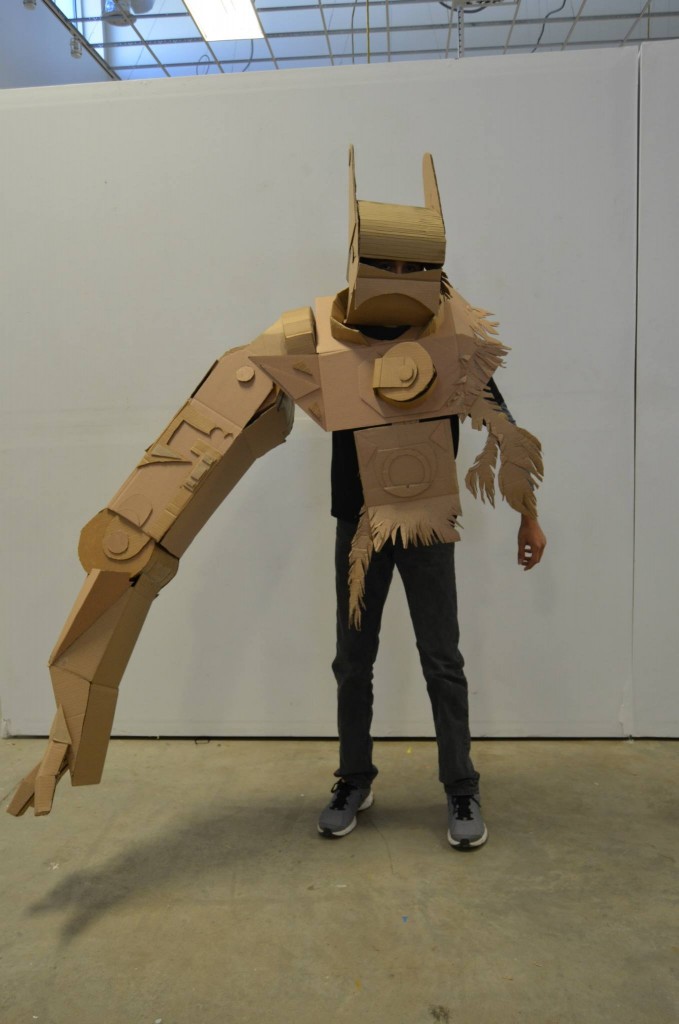
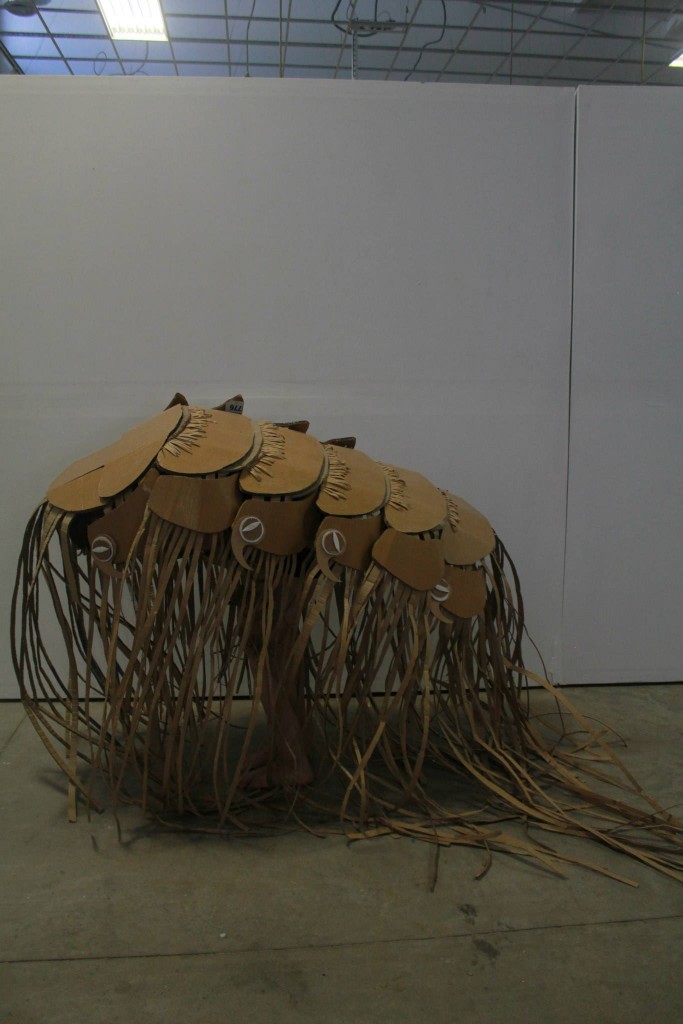
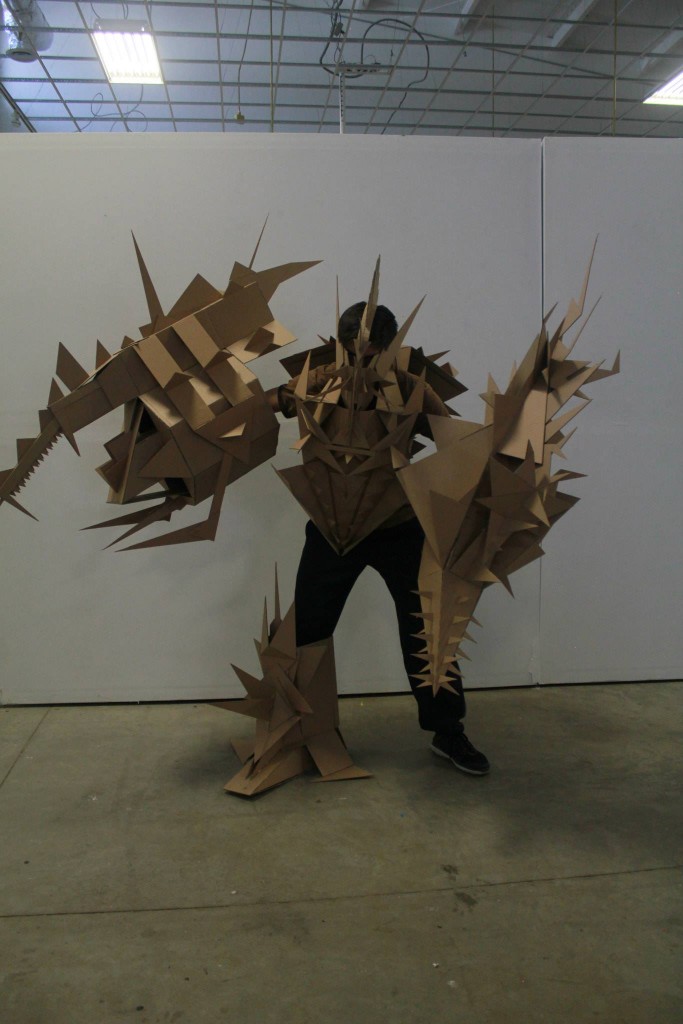
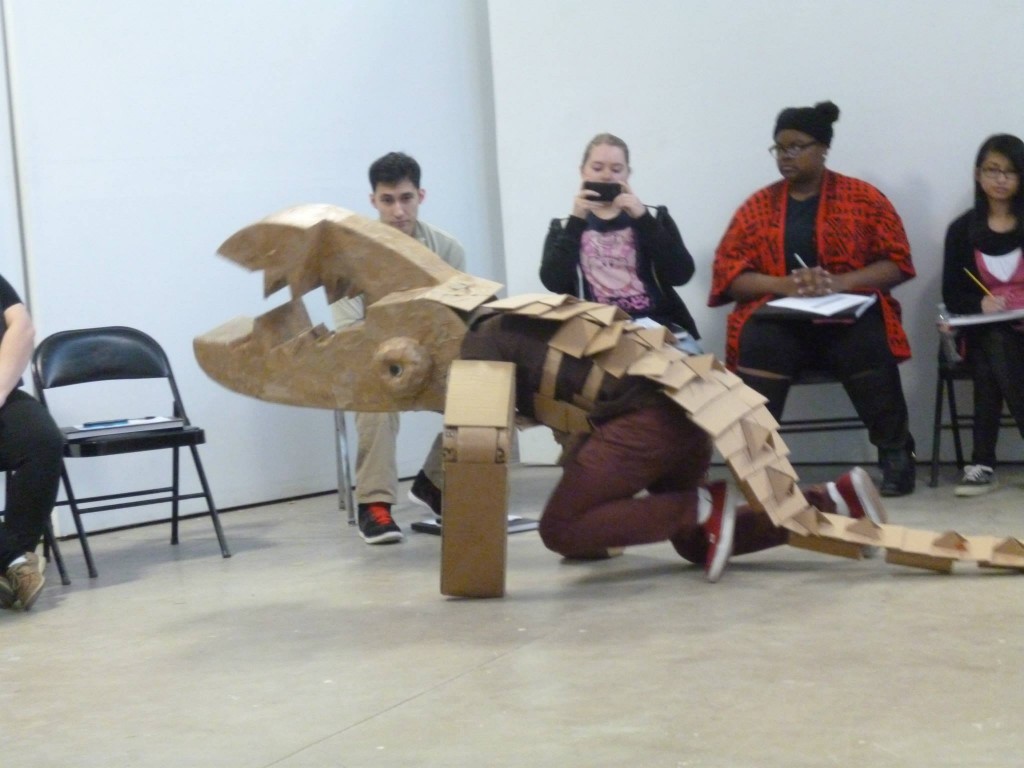
Create a cardboard sculpture that is placed on your body. This is not a piece of clothing or jewelry, like a hat or glasses, but a sculpture that significantly alters/transforms your body. Clothing might inspire how the sculpture fits the body, but it should be distinctly 3-dimensional, rather than just 2-dimensional cardboard covering parts of the body.

We will have a parade around campus with our wearable sculptures. Since your body is part of the sculpture, think about how your body should move while in this wearable art.  It is important to take into consideration the way you move / speak from within it.

You might choose to recreate a historical figure, past or present, a mythological god or goddess or your own persona. You might also make a larger than life version of yourself. I encourage you to explore multiple ideas. Don’t forget accessories – hair, glasses, cape, super long arms…shoes?

Things to consider

  • How does the body influence the form of the sculpture and vice-versa?
  • How can movement, transformation ‘heighten’ the piece?
  • How can you use scale to influence participants/viewers?
  • What are the practical concerns/considerations when making a wearable sculpture?

MATERIALS/TOOLS

  • Lots of cardboard
  • utility / xacto knife
  • hot glue gun
  • paper tape
  • ruler
  • scissors (maybe sewing supplies or riveting supplies)
  • Paint (acrylic, not spray paint).

Sketchbook Mini-Assignments

  1. Research / Brainstorm: Find at least 5 artists working in cardboard and / or wearable art that intrigue you. Print off photos of their work in color and put them in your sketchbook or blog about them on your WordPress site. In your sketchbook, create at least 10 thumbnail sketches for 10 different cardboard wearable sculptures. We’ll share this research in class.
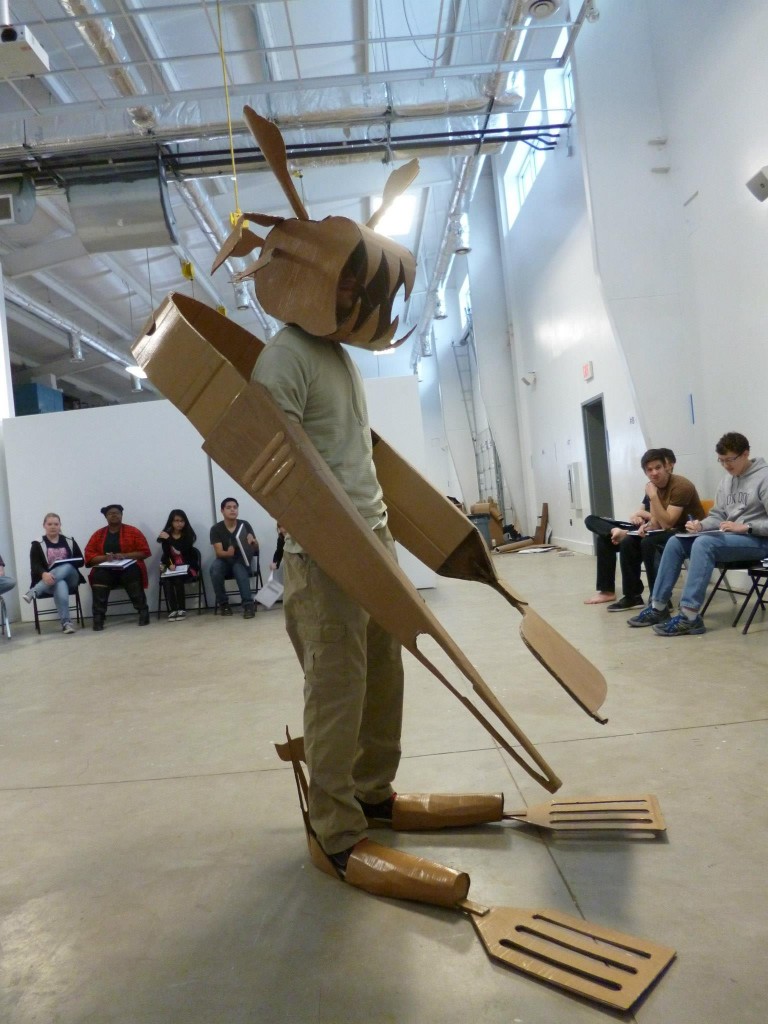
  2. Sketches / Narrowing Ideas: Having heard everyone else’s ideas and research, sketch out 3 ideas in greater detail (devote at least 1 whole sketchbook page to each of these ideas). You will make rough 3D mock-up of one of these 3 ideas out of paper. We will share these refined ideas in class. 

Project

  1. Select idea and begin working: Once you select your idea, you will need to collect cardboard. It may be useful to make another more refined mock-up out of paper to determine patterns for cutting your cardboard.
  2. Finishing: You may paint your cardboard if you wish but it is not required. Don’t use paint as a way to cover mistakes – it should enhance the work. Acrylic or latex paints from the hardware store work best for this. Spray paint is awful – both in terms of looks, for the environment and for your own body. Avoid it unless it is necessary.
  3. Final Critique/Parade: We will hold a final critique and parade our sculptures around campus. All projects must be dry and free of fumes.
  4. Document your work.
  5. Self-reflection: After the project is over, you will answer the following questions on blackboard to revisit your project and review how you performed. [1.] Discuss your work in terms of the components of an artwork. (subject/form/content/context)  [2.] How does the work engage with elements and principles of 3D design? Make sure to mention specific elements and specific principles.  [3.] How was your project successful?  [4.] How could your project be improved?

Sources of/for Cardboard

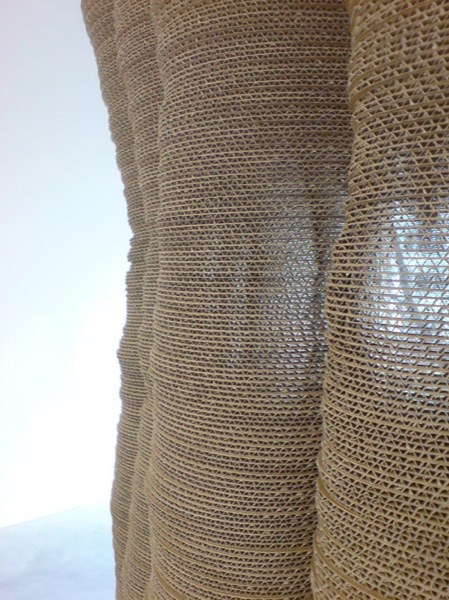
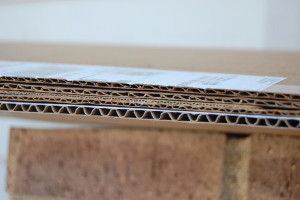
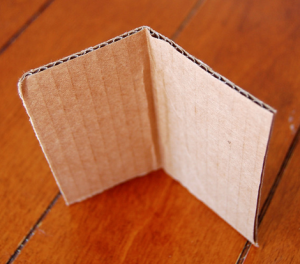
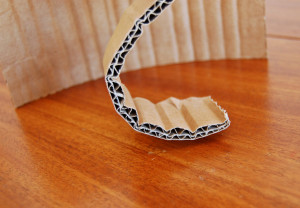
Single Wall Corrugated Cardboard: Single layer of flutes (those wavy things) between two layers (called liners) of cardboard, which comes in different thicknesses. Check out the size of the flutes – the smallest flute (somewhere in the middle of the stack) is in a USPS priority mail box.

single layer cardboard
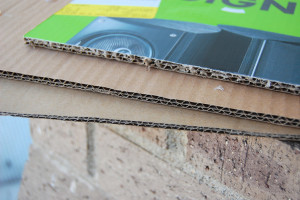
Single Wall Corrugated Cardboard: Single layer of flutes (those wavy things) between two layers (called liners) of cardboard, which comes in different thicknesses. Check out the size of the flutes – the smallest flute (somewhere in the middle of the stack) is in a USPS priority mail box.

Double Wall Corrugated Cardboard– double layer of flutes

double layer cardboard

Sources for cardboard

  • cardboard recycling container behind the science buildings/library
  • cardboard recycling container at Walmart
  • talk to the physical plant people to ask if they have any big boxes
  • you can order unblemished cardboard from Uline (online company)

Manipulating cardboard

  • Cutting: use a box cutter / Xacto and a cutting mat (do not damage tables, floors, or other surfaces)
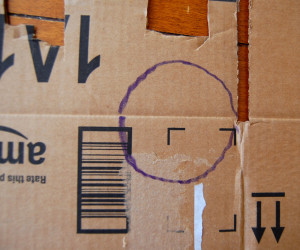
  • Avoid including preexisting creases in your shapes, unless you want them for a particular reason. These are weakened areas in the cardboard.
crease
  • Folding: use a blunt tool (like the back end of a pen) to score the cardboard to make folding easier; try to fold along the flutes (inner layer) of the cardboard whenever possible
  • You want your fold line to be parallel to the flutes- this way you only distort one or two flutes in the fold and the rest of the piece remains strong. If the cardboard is especially thick, you might need to score the fold line first.
Screen Shot 2015-04-12 at 7.34.09 PM
  • Rolling: like making a series of gentle bends to attain a curve. Again this is done with the bends parallel to the flutes.
rolling

Joining Cardboard

  • Gluing: use hot glue (High Temperature – the kind you buy at the hardware store, not low-temp crafters version) or other craft glues to adhere the cardboard together.
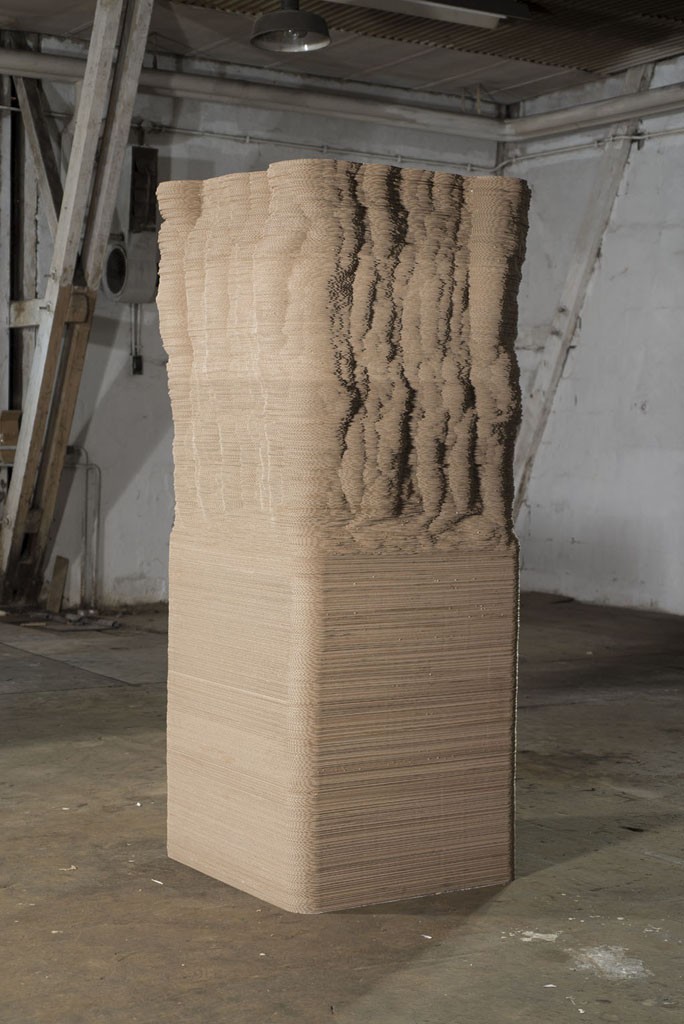
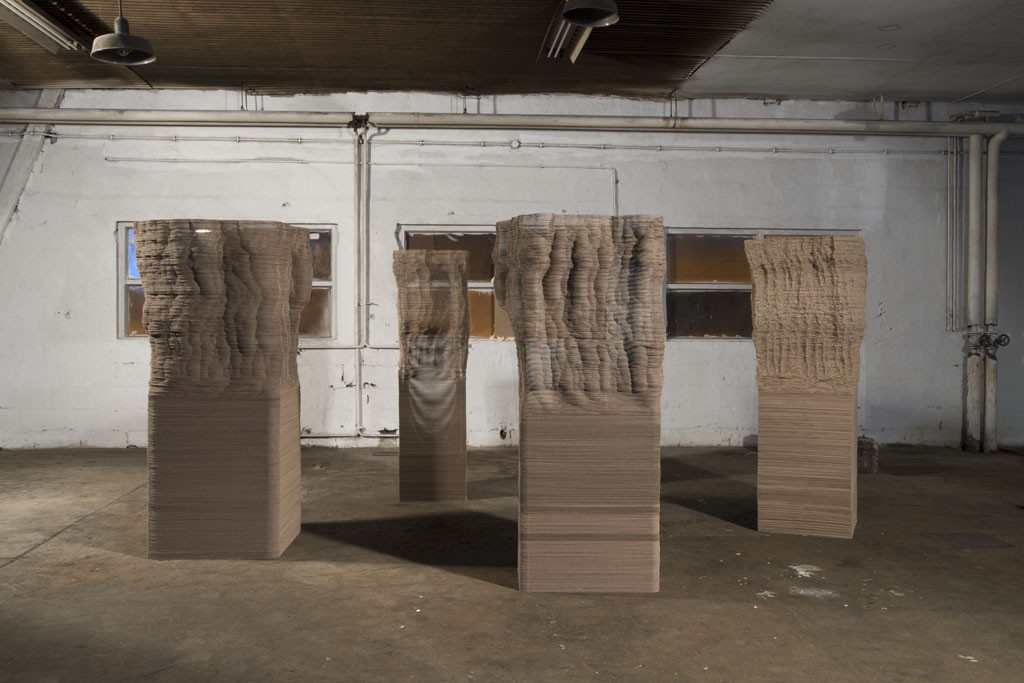
  • Laminate: (glue together many layers) of cardboard, and then cut them out on a bandsaw or other long blade (BE CAREFUL).
sewing cardboard
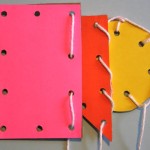
  • Sewing/Riveting: sometimes the easiest way to connect two pieces is via sewing, or riveting them together
Paper Tape
  • Taping: if you use tape, use paper tape, NOT plastic packaging tape or masking tape.
box flaps
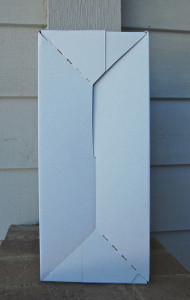
  • Assembling Without Glue: If you are working with a cardboard box, you can assemble the usual box-way, for instance, tucking in the flaps.
slots2
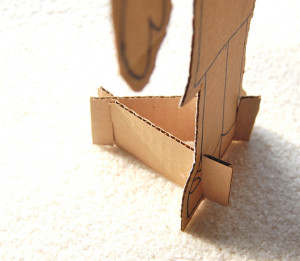
  • Joints: You can also make simple slot joints.

Research
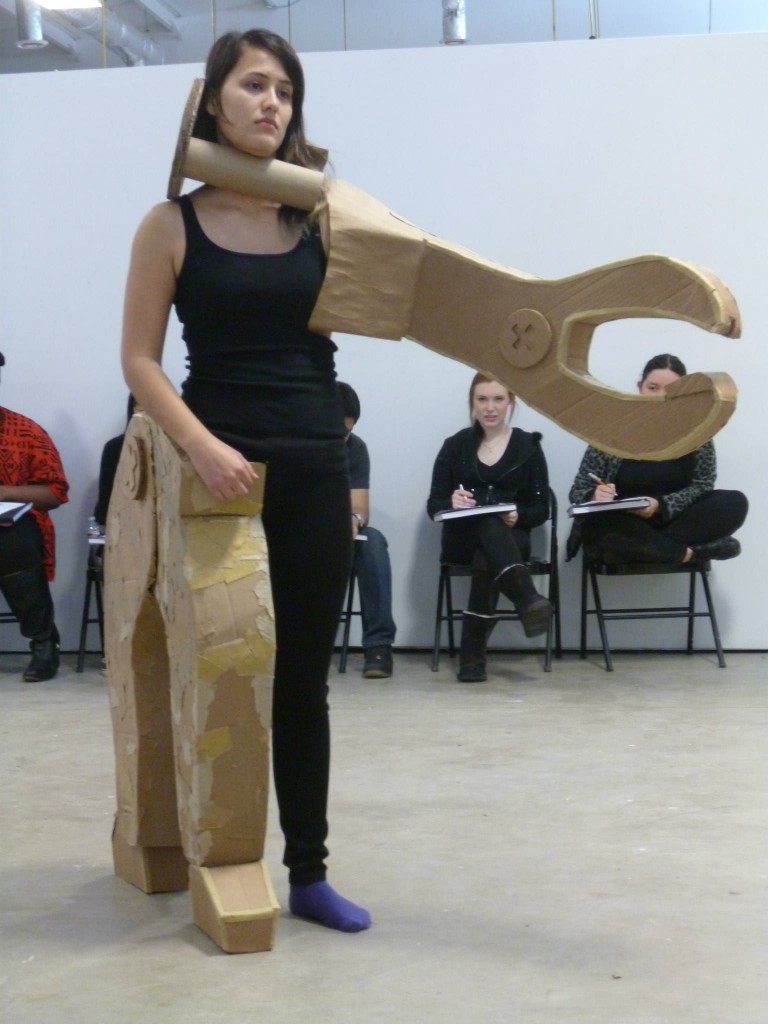
https://www.youtube.com/watch?v=dopaKh3CAz4
https://www.youtube.com/watch?v=ren4EzSZte0
https://www.youtube.com/watch?v=6Ex8-_9gqdo

Augmented Reality

Learning Objectives

  • Students will be able to demonstrate an understanding of pattern and color and its relationship to space and form.
  • Students will be able to demonstrate an understanding of process; going from brainstorming ideas, to sketchbook, to playing with and learning about various software applications, to building their object in a virtual environment.
  • Students will be able to assess their final project through written descriptions using the elements and principles of design.
  • Students will be able to express the value of creative practices in uncertain times through written or oral expression.

Materials

  • Any three dimensional building software that can export .glTF, usdz, or .stl. While you may use any of the software listed below, Tinkercad is the one I will be able to help you with the most.
    • Tinkercad (free and easy to use, browser based – make sure to use class signup link sent in Groupme and email)
    • Blender (free but has a learning curver)
    • Minecraft for Windows and .obj exporter (not free and requires separate exporter)
    • iPad apps such as Shapr3D, uMake (not free, some require monthly subscription)
    • Adobe also has a new app called Aero (iOS only) that can use Photoshop layers to build AR experiences. Video tutorial.

I will take care of getting your three dimensional file into an augmented reality experience. If you would like to play around with AR these are two of the software applications I will be using.

Sketchbook

  • Watch the videos linked below and take notes in your sketchbook. Consider the following questions –
    • How can pattern be used to challenge our understanding of depth and space?
    • Historically, how has pattern been used to draw attention to objects, places or events?
    • Considering the events that are taking place now, what are the roles of art, artists and designers? How do we adapt and find our niche in an environment that demands social distancing?

Project

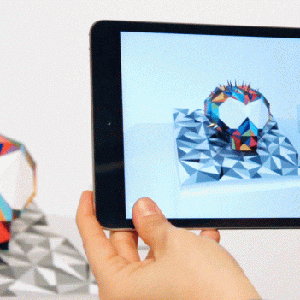
Using the software linked above in the “Materials” section, create an object that challenges our understanding of space through the use of pattern. Keep in mind that a pattern is the repetition of any of the elements of design (line, shape, form, value, texture, space or color).

You final submission should consider how the object will interact in an augmented reality environment. If placed outside on grass will the object work better or worse? Should you try to control where the viewer places your object in their environment? Your final submission should be your own work – premade basic shapes are allowed but using someone else’s work to create your own is not.

A couple of notes –

  • Excessive textures such as those found in Minecraft may not load at all or be extremely slow when converted to AR.
  • Reduce your polygons and simplify your shapes to avoid excessive load times.

Research
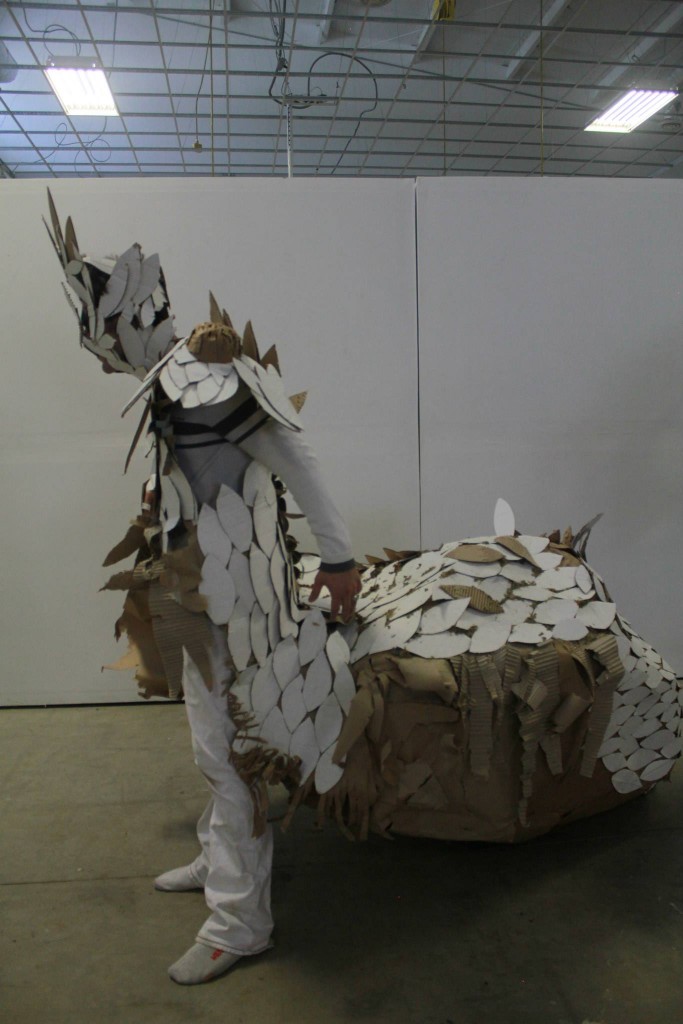
Anti Monument

Learning Objectives

  1. Students will be able to define the role that monuments play in society.
  2. Students will be able to demonstrate an understanding of scale, proportion, texture and value.
  3. Students will be able to demonstrate an understanding of the need for research and how to appropriately develop ideas that are enriched by that research and explored through their visual work.
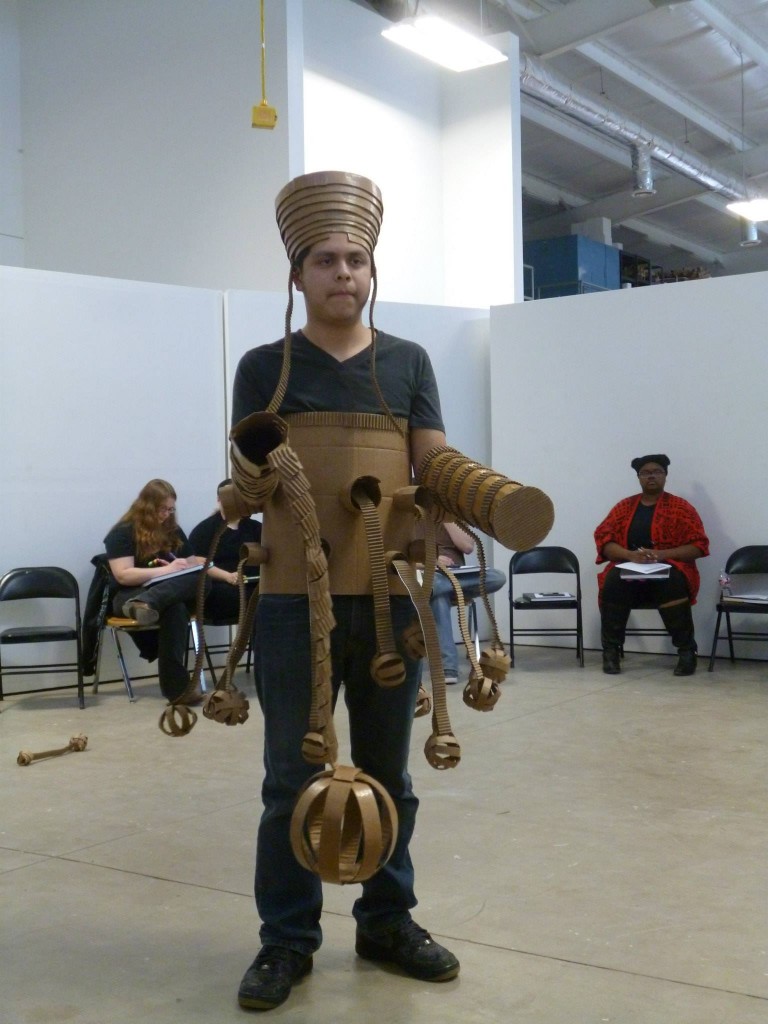
  4. Students will be able to demonstrate excellent craftsmanship and attention to detail.

Materials

  • Cardboard
  • White Elmer’s Glue
  • Cheap Chip Brushes
  • Xacto Knife
  • Utility Knife
  • Masking Tape
  • Hot glue gun and glue sticks (the regular sized ones)
  • Metal ruler

Info

The aim of this project is to get you thinking about both aesthetic and conceptual ideas.

For the aesthetic portion I want you to investigate the use of form, balance, scale, proportion, texture and value. You will need to consider how the scale of your project informs the viewer – does the scale of your monument feel imposing, welcoming, threatening? When the scale changes, so does texture. You will need to consider how you use texture on a potentially much larger work of art. Monuments are typically located in outdoor areas or places with uncontrolled lighting. Use that uncontrollable and unpredictable nature as part of your work.

Conceptually you will be asked to create the opposite of the traditional monument. Although your final project might (or might not) look like a traditional monument, what it memorializes is it up to you. Focus on institutions, ideas, beliefs that you admire or despise. Pick them apart. When working out ideas for this project you’ll need to do some research. The first question you should ask yourself is “What is a monument?” After a quick Google search we find that “A monument is defined as a building, statue or other structure erected to commemorate a famous person or event”.

Additional questions you should consider –

  • What is the role of a monument?
  • If they are designed to tell a story, whose story is being told and from what viewpoint?
  • How should we interpret monuments that are funded by major corporations or donors?
  • While Confederate monuments are at the forefront of the news today, what other monuments present similar issues?

One note – Although this assignment was developed during the height of the 2020 protests and the subsequent removal of Confederate monuments, your work does not need to be anything nearly as confrontational. It could be something more humorous or it could indeed take on more challenging topics. While it is ok to to make work that might be offensive, I expect you to have done the research to support your work. It is not enough to be offensive for the sake of being offensive.

Sketchbook

  1. Take notes in your sketchbook on the readings and videos from the Research section below.
  2. Create one page in your Google Sketchbook Presentation for each of the sections below. Use this part of your presentation to research ideas for your monument. You’re not trying to copy what is already out there but you are trying to find sources of inspiration. In your sketchbook presentation you will need to include a slide for each of the following –
    – 5 images of historical monuments
    – 5 images of social monuments
    – 5 images of historical architecture
    – 5 images of appropriate textures for your monument
    – 5 images of cardboard works of art
    – 5 images of events, people, places, historical events, causes, social events, etc that you have some belief about.
  3. Lots of sketches. I’m looking for serious sketches and brainstorming.
  4. Research different methods used in cardboard construction and look over images and videos on this page. Take notes in your sketchbook.
  5. Accumulate cardboard to bring in to class.

Project

Using your Google Sketchbook from the homework above, sketch out your finalized monument to scale with the aid of the professor. The minimum size for this project are 2 feet by 3 feet. Make sure to think of any problems you might face while you are building your sculpture. Think about design and structural integrity issues as you sketch. Think about balance, height, width, how it sits it space, etc.

After getting your sketch approved by the professor, start constructing your monument. You should start with the large shapes first with the recycled cardboard and “rough” out the main components. We will use the new cardboard for the final skin. You should focus on establishing excellent craftsmanship as you work. Edges of the cardboard should not be frayed and glue should not show. The cardboard will not be painted, so what you see if what you get. This is why craftsmanship will be so important – you won’t be able to hide anything.

Continue building your forms for your monument and start to slowly add details where needed. Examine your sculpture from all sides as you are working to make sure that one side is not neglected. All sides you should be well built and creatively executed.

Create areas of interest. If the viewer comes close to your sculpture, will there be something for them to look at? Create surprises for the viewer.

Research

Collective memory refers to the shared pool of memories, knowledge and information of a social group that is significantly associated with the group’s identity. The English phrase “collective memory” and the equivalent French phrase “la mémoire collective” appeared in the second half of the nineteenth century. The philosopher and sociologist Maurice Halbwachs analyzed and advanced the concept of the collective memory in the book “Les cadres sociaux de la mémoire” (1925). Collective memory can be constructed, shared, and passed on by large and small social groups. Examples of these groups can include nations, generations, communities, among others. Collective memory has been a topic of interest and research across a number of disciplines, including psychologysociologyhistoryphilosophy, and anthropology. (Source)

Anti-monumentalism (or Counter-monumentalism) is a philosophy in art that denies the presence of any imposing, authoritative social force in public spaces. It developed as an opposition to monumentalism whereby authorities (usually the state or dictator) establish monuments in public spaces to symbolize themselves or their ideology, and influence the historical narrative of the place. According to artist Rafael Lozano-Hemmer, anti-monument “refers to an action, a performance, which clearly rejects the notion of a monument developed from an elitist point of view as an emblem of power.” Krzysztof Wodiczko‘s Bunker Hill Monument Projections,  Do-Ho Suh‘s Public Figures or Jochen Gerz‘s 2146 Stones – Monument against Racism can be considered examples of anti-monumentalism. (Source)

Readings

Harvard Design Magazine – Memory and Counter Memory (PDF)
The Anti Monumental (PDF)
The Interventionists (PDF)
Memory – Vanished, Absent and Confined (PDF)
Collective Memory (Wikipedia)

Artists and How To’s

Chris Natrop
Greg Olijnyk
Daniel Agdag
Chris Gilmour
The Art of Cardboard
Thomas Demand
Cardboarders.com

Examples